Purchasing and using USB/Thumb/Jump drives
USB drives come in all shapes, sizes, colors, and capacities. If you need to purchase one, we recommend that you purchase one that has at least 1GB of capacity and USB 2.0 capability. High capacity and USB 2.0 speed are really the only features that matter for general use. Other features such as color, security, or style are completely up to the user. A USB 2.0 1GB drive could cost as little as $5 to $10 depending on where you buy it and its other features. Search the web for more information about USB drives.
To backup data to a USB drive:
BEFORE BACKING UP GIS PROJECTS AND DATA, BE SURE THAT YOU HAVE SET YOUR MAP DOCUMENT TO STORE RELATIVE PATHS SO IT WILL OPEN CORRECTLY ON ANOTHER GIS WORKSTATION.
-
Lift up the gray door on the front of the workstation, or go to the back of the workstation and plug in your USB drive.
- If you use the front of the workstation, you may get a message like this one:
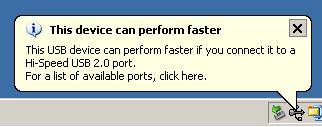
You may ignore this error, or plug the drive into the back of the machine to realize the full speed capacity of USB 2.0.
- The system will recognize the new device, create a new drive and assign it the next available drive letter in Windows Explorer. In Windows Explorer it will be called "Removable Disk."
- Make sure your USB drive has enough space for your project files.
- Simply copy your project folder to the Removable Disk.
- When it is finished copying, locate the "Safely Remove Hardware" icon in the system tray:
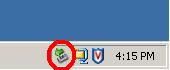
- Click it once, then click "Safely remove USB mass storage device - Drive(X)":

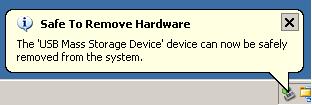
- After you see the message saying it is safe to remove the drive, pull it from the workstation: