How to burn data to DVDs or CDs
Each workstation has a CD/DVD burner installed in the lower bay. The burner is capable of burning almost any CD or DVD you bring in. The most reliable (but perhaps the most wasteful) discs to burn are the disposable CDs or DVDs (+R or -R). These discs tend to have the greatest reliability in other computers. It is possible to purchase and burn re-writable CDs and DVDs (+RW or -RW), but these can sometimes pose problems when put into another computer. Re-writable discs are also a lot more expensive. A CD typically holds 650-700MB of data, while a typical DVD holds approximately 4.7GB of data.
To backup your project to a CD or DVD:
BEFORE BACKING UP GIS PROJECTS AND DATA, BE SURE THAT YOU HAVE SET YOUR MAP DOCUMENT TO STORE RELATIVE PATHS SO IT WILL OPEN CORRECTLY ON ANOTHER GIS WORKSTATION.
- Check to see the size of your project folder by navigating to it in Windows Explorer, right-clicking it, and then choosing properties. If the folder size is less than 650MB it will fit on a CD. If it is less than 4.7GB, it should fit on a DVD.
- Double-click on the "Creator Classic" icon on the desktop to start the program.

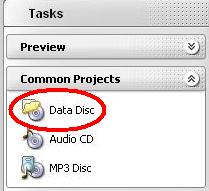
- After the program comes up, click the "Data Disc" button on the left.
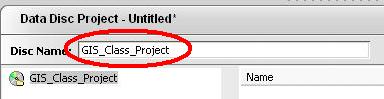
- If you would like, rename the disc in the "Disc Name" box:
- At the bottom of the window, select the type of disc you are using:

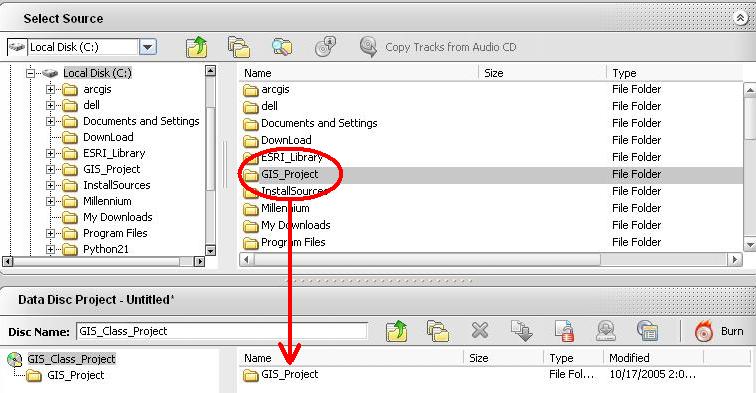
- Navigate to your project folder, highlight it by clicking it once, then click and drag the folder to the bottom window to add it to the CD/DVD:
- When you have added all of the files that you want to burn, click the "Burn" button on the right:

- Then you will get this window, if you are ready to begin burning the disc, click the burn button again:
